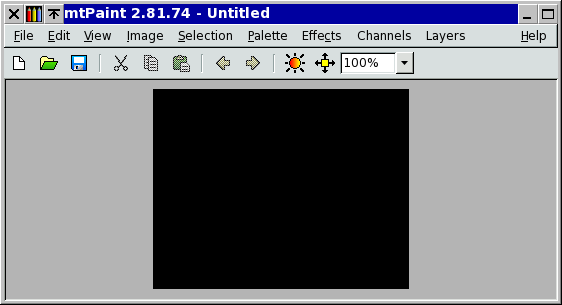
Basic image viewing and manipulation can be achieved without having all of the toolbars on display. You toggle a toolbar on or off using the View menu, which allows you to make the interface much less cluttered when you don't need these extra features. Here is a screenshot of what mtPaint looks like with just the main toolbar switched on:
All basic image manupulation can be done with a few clicks of the mouse or a few keystrokes: Zooming, panning, cropping, scaling and adjusting the colours. If you take the time to learn these keyboard and mouse shortcuts, they can really increase your work satisfaction and productivity.
At any time you can zoom in or out using the + or - keys. You can also zoom to a preset value by pressing the number keys 1-9. It is sometimes useful to navigate around the image by pressing the End key to bring up the pan window. This window displays a thumbnail of the current image which you can use to position the current view with. To do this you either press the arrow keys to move or click on the thumbnail using the mouse. The size of the thumbnail is set using the Preferences window.
If you wish to zoom into a particular area of the image you can do this by positioning the mouse pointer over the area you want as the centre and then pressing the middle mouse button. If you then zoom in, this point on the canvas will be the new centre of the current view.
At any time you can hide all of the menus, toolbars, palette and status bar in order to view as much of the image as possible. To do this simply press the Home key. Pressing the Home key again will return the controls.
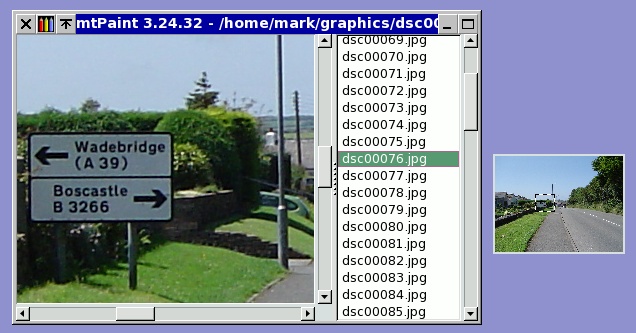
If you started mtPaint by passing more than one filename at the command line such as 'mtpaint *.jpg', these filenames will be put into a list in a window. Then whenever you click on the filename, this image will be loaded into mtPaint. This can be useful for editing animation frames, or working with several digital photos. In the Windows version of mtPaint this feature can be used by selecting the image files in Explorer, right clicking and using the 'Send To' option to send them to mtPaint.
Here is an example of what you can do using this procedure, along with a pan window and the main window toggled to full view:
To toggle the dock area off press F12 or use the View menu.
When you are editing an image at a high zoom, it is sometimes useful to have a second image at 100% to see what it looks like, but without having to zoom in and out. This is what the View Window allows you to do. The view window can be toggled on or off by pressing the 'V' key or by using the View menu. The zoom setting for the view window is set by using the second combo box on the main toolbar. By default when you move a scrollbar on the main edit window this will also move the image focus in the view window. To turn this feature off, you must toggle the option on the View menu.
Here is an example of what the view window can be used for:
Instead of drawing from memory, you can set up a tracing image to help you reproduce its contours and colours. A tracing image can help even a person not blessed with artistic talent to create a passable tile image or icon.
First you should prepare the image you want to trace. Load it into mtPaint, and if you want only some part of it as a tracing image, either crop it or copy that part to clipboard.
Then select 'Tracing Image' from the View menu. There, select 'Image' or 'Clipboard' as the source, depending on where your prepared image is. Then, set the relative scale if you want the new canvas image to be smaller than the original image. For example, if you are tracing around a 640x480 image on a canvas that is 80x60 pixels then the relative scale will be 8. Then check the 'Display' box and press OK.
Now create a new image, and then set the black background as transparent by pressing Ctrl+P and setting the transparency index to 0 in the Files tab. Alternately, you can create an empty alpha channel using 'Channels->New'. Then the tracing image will show through your now-transparent canvas image.
The screenshot below shows the typical setup for tracing:
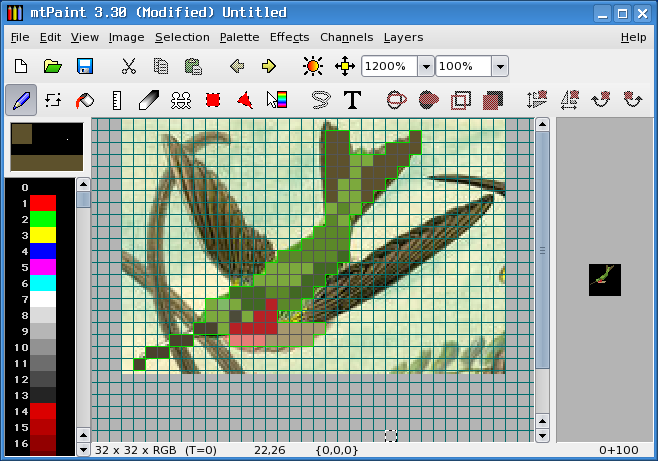
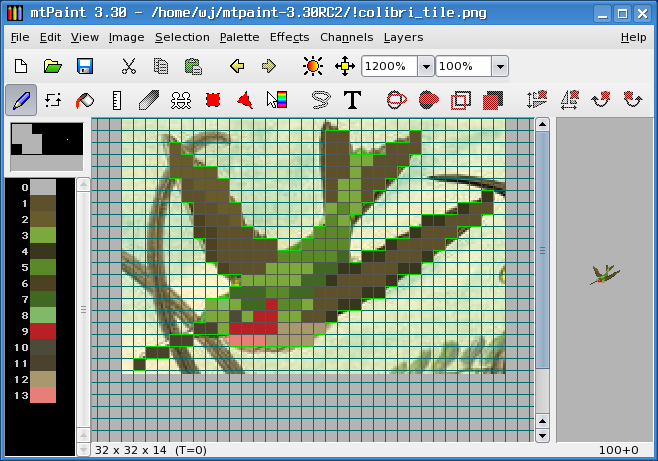
See the canvas window on a high zoom, displaying a tracing image overlaid by a partially drawn 32x32 tile and a zoom grid; and the view window displaying that same tile at 1:1 scale.
Also notice the different grid colours over the drawn part, the transparent part, and at their boundary; this is the "Smart grid" feature in action. It exists to help you see which pixels are already drawn, and which are still transparent. You can enable it, and choose the three colours to use for it, in the 'Configure grid' dialog in the View menu.
Note that mtPaint not only shows you the tracing image, but allows you to pick colours from it. If you Ctrl+click on a transparent pixel over the tracing image, colour is picked from tracing image's pixel under the cursor. And Ctrl+double click picks the colour which is a gamma corrected average of all tracing image's pixels under the canvas pixel you've clicked in; this is useful when the relative scale is larger than 1, like in the example above.
You can also move the tracing image using Ctrl + arrow keys, if the current layer is the background. Otherwise, you can change its origin in the 'Tracing Image' window.
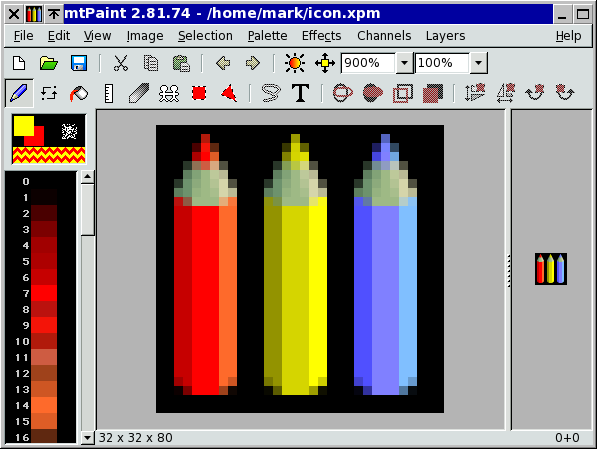
Below you can see the final stages of turning a tracing image into a small tile:

And the finished tile itself:

Zoom grid makes it easier to edit images at a high zoom. You can enable or disable it using 'View->Show Zoom Grid' menu option.
Using the 'Configure grid' dialog in the same View menu, you can choose the grid colour, and the minimum zoom factor at which the grid becomes visible. If the "Smart grid" option is checked, the grid is displayed in three different colours - the "Opaque" one is used for grid lines between opaque pixels, "Border" is for lines separating an opaque and a transparent pixel, and "Transparent", for lines between transparent pixels. If the option is unchecked, only the "Opaque" colour is used.
From the same dialog, you can also enable the tile grid, useful for visually separating tiles in a tileset, configure its colour, and horizontal and vertical spacing. Unlike the zoom grid, tile grid, if enabled, is displayed for all zoom factors.